
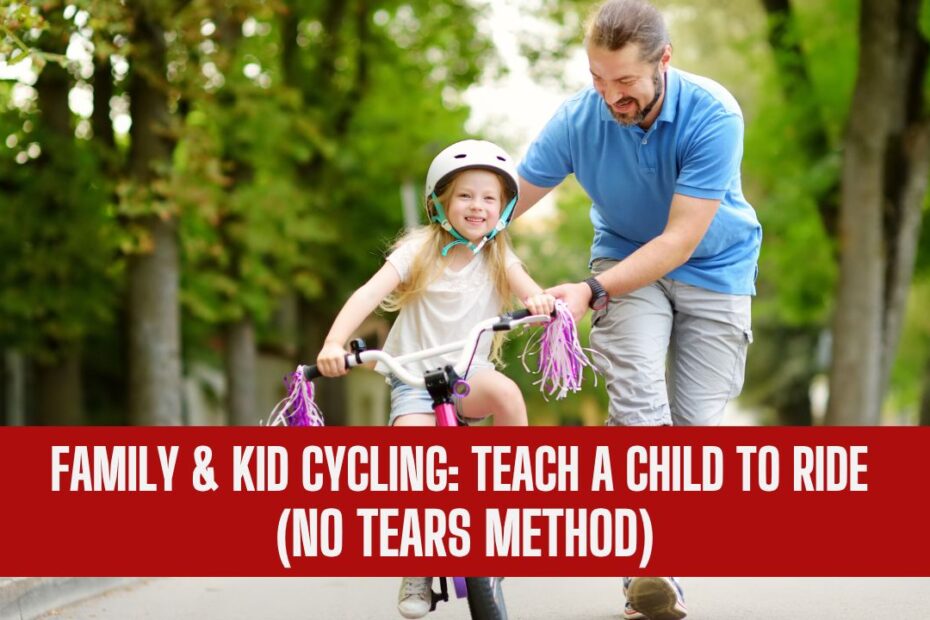
Teaching a child to ride a bike is one of those pivotal childhood milestones that mixes excitement, independence, and a touch of parental anxiety. Many parents dread the “fall and cry” phase, which can make the experience stressful.
However, the No Tears Method focuses on gentle encouragement, progressive learning, and safety-first strategies to ensure a child can learn cycling without fear or frustration.
This method has gained traction among parents, child development experts, and cycling educators due to its focus on confidence building and fun rather than force and pressure.
By implementing this method, your child will not only learn to ride efficiently but also develop a love for family cycling adventures, encouraging an active lifestyle from an early age.
Why Use the No Tears Method?
Traditional bike teaching often involves training wheels and repetitive forceful guidance, leading to fear of falling or resistance from children. In contrast, the No Tears Method emphasizes:
- Positive reinforcement: Celebrate small milestones to build confidence.
- Balance first approach: Focus on learning balance before pedaling.
- Incremental challenges: Step-by-step progression reduces frustration.
- Safety and comfort: Ensuring protective gear and suitable terrain keeps fear low.
Studies show children who learn with balance bikes or step-by-step guidance tend to learn faster and retain confidence longer compared to those who rely on training wheels.
Choosing the Right Bike for Beginners
The first step is selecting the appropriate bike. Size, weight, and features can drastically influence the learning experience.
| Feature | Recommendation | Reasoning |
|---|---|---|
| Bike Size | Wheels between 12-16 inches for ages 2-5; 16-20 inches for ages 5-8 | Proper size ensures the child can comfortably touch the ground with their feet |
| Weight | Lightweight bike (10-20 lbs depending on age) | Easier for children to control and maneuver |
| Type | Balance bike or pedal bike without training wheels | Balance bikes improve coordination and confidence faster |
| Brakes | Coaster brakes or hand brakes depending on hand strength | Easier to stop and reduces risk of falls |
| Seat & Handlebar Adjustments | Adjustable height | Ensures ergonomic fit as child grows |
Investing in the right helmet, knee pads, and elbow pads is equally essential. Safety gear not only protects from injury but also increases a child’s confidence to try new maneuvers.
Step-by-Step No Tears Method
Step 1: Get Comfortable With Balance
Start with a balance bike or remove pedals from a standard bike.
- Encourage walking and scooting: Let the child push the bike with their feet.
- Practice gliding: Gradually lift feet and let them glide.
- Focus on posture: Hands on handlebars, back straight, eyes forward.
This step helps children understand balance before worrying about pedaling, reducing fear and frustration.
Step 2: Introduce Pedaling Gradually
Once your child is comfortable balancing:
- Reattach pedals or use a small pedal bike.
- Hold the bike gently: Walk alongside, not push or pull.
- Encourage short pedaling bursts: Praise effort over perfection.
By gradually introducing pedaling, you allow children to combine balance and propulsion without overwhelming them.
Step 3: Master Steering and Braking
Balancing and pedaling is only half the skill. Children also need steering and stopping skills:
- Steering: Use cones or small markers for children to navigate.
- Braking: Practice gentle stops with both coaster and hand brakes.
- Turning: Start with wide turns, then gradually introduce sharper turns.
Consistency in these exercises builds muscle memory and confidence, key elements for independent cycling.
Step 4: Practice in a Safe Environment
The learning environment is critical:
- Flat terrain: Avoid slopes initially.
- Open space: Parks or empty playgrounds reduce risk of collisions.
- Soft ground: Grass or fine gravel cushions minor falls.
Once children master basic skills, gradually introduce gentle slopes, mild traffic areas, and uneven surfaces for realistic experience.
Step 5: Encourage Regular Practice and Family Rides
The more a child rides, the faster they improve. Encourage:
- Daily short rides: 10-15 minutes is sufficient for beginners.
- Family rides: Riding with siblings or parents builds fun and motivation.
- Skill challenges: Simple games like “follow the leader” teach steering and control.
Consistency combined with positive reinforcement is the cornerstone of the No Tears Method.
Common Mistakes Parents Make
| Mistake | Why It’s Harmful | How to Avoid |
|---|---|---|
| Using training wheels too early | Delays learning balance | Start with balance bikes |
| Pushing or forcing the child | Creates fear and frustration | Walk alongside and encourage, don’t push |
| Ignoring safety gear | Minor falls can cause injuries | Always use helmets, pads, and appropriate shoes |
| Practicing on uneven surfaces | Increases chance of injury | Start on flat, open areas |
| Not celebrating small victories | Reduces motivation | Praise every small progress step |
Avoiding these mistakes ensures a stress-free learning experience and fosters confidence and love for cycling.
Tips for Parents and Guardians
- Patience is key: Every child learns at their own pace.
- Encourage, don’t pressure: Positive words matter more than correcting every mistake.
- Celebrate progress: Even short glides or steady pedaling deserve praise.
- Set achievable goals: Avoid overloading the child with too many skills at once.
- Stay close but hands-off: Be ready to catch if needed, but let the child take control.
Benefits of Early Cycling
- Physical development: Improves coordination, balance, and strength.
- Mental growth: Boosts confidence, independence, and risk assessment skills.
- Social interaction: Encourages playdates, family rides, and outdoor activities.
- Healthy habits: Promotes regular exercise and reduces screen time.
Equipment Checklist
| Item | Purpose | Recommendation |
|---|---|---|
| Helmet | Protects head | Properly fitted, adjustable |
| Knee and elbow pads | Cushion falls | Lightweight, breathable |
| Water bottle | Hydration | Small bottle with easy grip |
| Bell | Safety & communication | Simple hand bell |
| Reflective gear | Visibility | For evening or low-light rides |
Progress Timeline
| Week | Skills Focus | Expected Outcome |
|---|---|---|
| Week 1 | Scooting & balance | Child comfortable pushing bike |
| Week 2 | Gliding | Confident short glides, minimal falls |
| Week 3 | Pedaling introduction | Short pedal bursts, basic stopping |
| Week 4 | Steering & braking | Can turn, stop safely, navigate obstacles |
| Week 5+ | Independent riding | Smooth riding, basic traffic awareness |
Teaching a child to ride a bike doesn’t have to be a stressful or tear-filled experience. The No Tears Method provides a structured, gentle approach that emphasizes balance, confidence, safety, and fun.
By selecting the right bike, practicing in a safe environment, introducing pedaling gradually, and encouraging regular family rides, children can master cycling quickly and enjoyably.
Remember, patience, positive reinforcement, and consistency are the keys to making this milestone a joyful and memorable experience for both you and your child.
Cycling isn’t just a skill; it’s a gateway to healthy habits, family bonding, and outdoor adventure that will stay with your child for life.
FAQs
Children can start with balance bikes as early as 2-3 years old, depending on size and motor skills. Pedal bikes are usually suitable around 4-6 years old.
Most children learn to ride independently within 1-5 weeks, practicing 10-15 minutes daily, using the No Tears Method.
Experts recommend starting with a balance bike, as it teaches balance and confidence more effectively than training wheels. Training wheels can delay balance skills.