Whether you ride a city hybrid, a mountain bike, or a sleek road bike, learning to shift gears smoothly is the fastest way to ride farther with less effort—and to protect your drivetrain from wear.
This beginner-friendly guide explains what gears do, how to use them on any bike, and how to fix common problems on the road.
You’ll also get a quick-reference table you can save, plus maintenance tips so every shift feels clean and confident.
Why gears matter (and what “smooth” really means)
Bicycle gears change your mechanical advantage so your legs can turn the cranks at a comfortable cadence while your wheels spin faster or slower.
Most beginners feel best at roughly 70–90 RPM (revolutions per minute) on the pedals; if your cadence drops and your legs feel like they’re grinding, shift easier.
If you’re spinning like a fan and not going anywhere, shift harder. Keeping a steady cadence makes every ride smoother and protects your knees and drivetrain.
Meet your drivetrain (plain-English glossary)
- Chainring(s): The big toothed ring(s) at the cranks. Bigger ring = harder gear, smaller ring = easier gear.
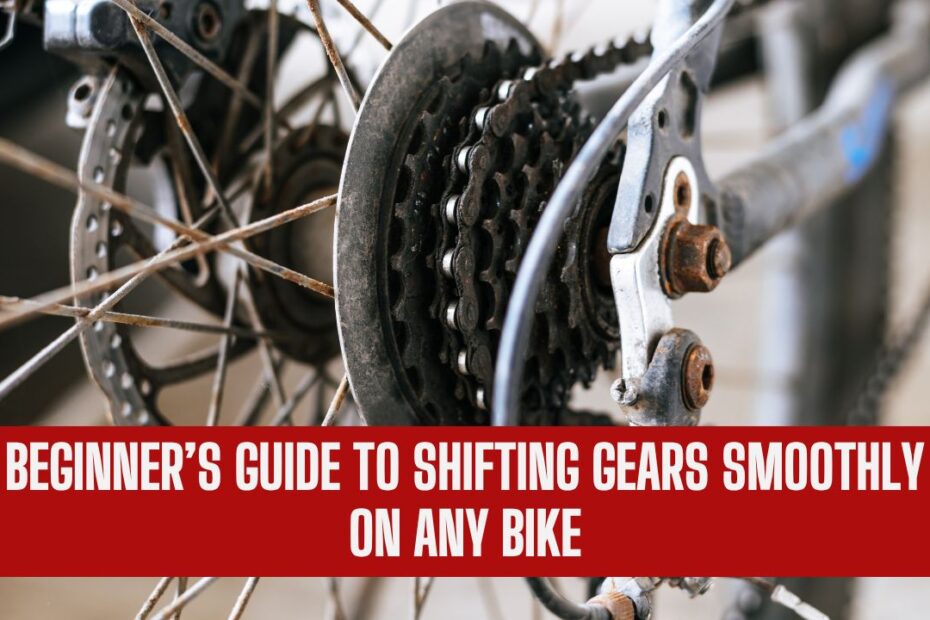
- Cassette: The stack of cogs on your rear wheel. Smallest cog = hardest, largest cog = easiest.
- Derailleurs: Spring-loaded guides that move the chain across chainrings (front) and cogs (rear).
- Shifters: Levers or buttons on the bars that command the derailleurs.
- 1x drivetrain: One front chainring and a wide-range cassette (common on modern MTBs and many gravel/commuter bikes).
- 2x/3x drivetrain: Two or three front chainrings for bigger jumps in range (common on road/older hybrid bikes).
- Electronic shifting: Buttons control battery-powered derailleurs; some systems even auto-coordinate front and rear shifts for you.
The golden rules of smooth shifting
- Shift before you need to. Anticipate a hill, stop sign, or headwind and change to an easier gear just before the load hits.
- Ease pedal pressure during the shift. Pedal smoothly and reduce force a touch as the chain moves; this helps the chain climb or drop onto the next cog cleanly and protects teeth.
- Use one shifter at a time. Make big changes with the front and fine-tune with the rear—but don’t move both at once.
- Avoid cross-chaining. Don’t use big ring + biggest rear cog or small ring + smallest rear cog; those extreme diagonals make noise, reduce efficiency, and wear parts faster. Stay in straighter chainlines and you’ll feel instant smoothness.
- Match gear to cadence. If your cadence drops under load, shift easier; if you’re bouncing in the saddle, shift harder.
Pro note on new tech: Some modern MTB groups (e.g., SRAM Eagle Transmission) are designed to shift under load more reliably than older setups.
That’s great for steep transitions, but even then, a brief easing of pedal force still makes shifts quieter and kinder on parts.
Step-by-step: how to shift on any bike
If you have a 1x drivetrain (one front ring)
- Right shifter only controls the rear cassette.
- Climbing or starting? Click to bigger rear cogs (easier).
- Flat/downhill? Click to smaller rear cogs (harder).
- Keep cadence near that comfortable 70–90 RPM window to protect your legs.
If you have a 2x/3x drivetrain (front and rear)
- Use the left shifter to switch between front rings for big jumps:
- Small front ring = hills/starts
- Big front ring = flats/descents
- Use the right shifter for small adjustments on the rear cassette.
- Don’t cross-chain: If you’re in the big ring, stay away from the biggest rear cogs; in the small ring, avoid the smallest rear cogs.
If you have electronic shifting (Di2/eTap/AXS)
- Shifts are button-smooth; tap, don’t mash.
- Some road systems offer Synchronized/Semi-Synchronized Shift: you shift the rear and the system moves the front automatically to maintain good chainlines and consistent cadence—handy for beginners.
Real-world scenarios (what to do, exactly)
- Approaching a hill: Before the slope, shift the rear two to three clicks easier while easing pressure. If it gets steeper, drop to the small front ring (on 2x/3x) and fine-tune with the rear.
- Rolling terrain: Keep your cadence stable by making single-click changes on the rear as the gradient changes.
- Stop-and-go traffic: As you brake to a stop, downshift to an easy gear so it’s painless to restart.
- Group rides: Shift early and quietly to avoid surges; hold a steady cadence so the group stays smooth.
Quick-reference table: what to shift, when, and why
| Situation | What you feel | What to do (shift) | What to watch | Why it works |
|---|---|---|---|---|
| Rolling out from a stop | Heavy push, slow start | Rear to bigger cogs (easier) before launch | Cadence rises to 70–90 RPM | Lets you accelerate without straining knees |
| Mid-climb gets steeper | Cadence drops, legs burn | One or two easier rear clicks; if needed go to small front ring | Lighten pedal pressure during click | Clean chain movement under load |
| Cresting a hill | Legs spin out | Two clicks harder on rear | Maintain steady cadence | Converts leg speed into speed on the road |
| Fast flat section | Spinning fast with little resistance | Shift harder (smaller rear cogs / big front ring) | Keep chainline reasonable (no cross-chain) | Efficient power transfer |
| Approaching stop light | Anticipate stop | Shift to easier rear cogs while braking | Be ready to restart in easy gear | Smooth, stress-free takeoff |
| Rough trail/root section (MTB) | Sudden resistance spikes | Pre-shift to easier gear before obstacles | Avoid shifting while smashing pedals | Protects chain and cassette |
On-the-road troubleshooting (fast fixes)
- Skipping or chattering under load: You may be between cogs. Lighten pedal pressure and give the shifter one extra, crisp click. If it keeps skipping across many gears, your cable tension may be off—add a quarter-turn on the barrel adjuster (counter-clockwise to add tension) and test.
- Chain rub in front gears: You’re likely cross-chaining. Move to a straighter combo (e.g., big ring + mid cassette, or small ring + mid cassette).
- Chain drops off a ring: Soft-pedal, shift back toward the dropped side, and gently pedal the chain on. Stop and inspect if it repeats.
- Hard to shift after a knock or crash: Your rear derailleur hanger or body may be out of alignment. Ride home on gentle gears and have a shop check alignment before your next hard ride.
Maintenance that makes every shift smoother
Smooth shifting isn’t only about technique—timely maintenance is half the battle.
- Keep the chain clean and lubricated. Wipe after wet/muddy rides; re-lube when it squeaks or looks dry.
- Replace the chain before it elongates too far. Most mechanics use a simple gauge to measure wear. A common guideline is:
- 11/12-speed chains: replace at or just before 0.5% wear
- 5–10-speed chains: replace at or just before 0.75% wear
Replacing early protects your cassette and chainrings from expensive wear.
- Cable and housing health (mechanical systems): If shifting feels sticky or inconsistent, frayed or corroded cables and gritty housing are often to blame—fresh cables feel like a new bike.
- Derailleur adjustment: Correct limit screws and B-tension keep the chain on the cogs and maintain consistent pulley-to-cog distance. If you’re unsure, a quick tune-up at a shop is inexpensive and pays off in quiet, accurate shifts.
- Know your system’s limits. Newer MTB designs such as SRAM’s Transmission specifically advertise improved shifting under load thanks to a stiffer, hanger-less mounting and shift-ramp mapping. It’s helpful tech on steep terrain, but smooth pedal strokes still make everything quieter and longer-lasting.
- Electronic shifting care: Keep batteries charged, update firmware as recommended, and use features like Synchronized Shift to maintain good chainlines automatically on road/gravel bikes.
Common beginner mistakes (and how to avoid them)
- Shifting late on a climb: Pre-shift while you still have momentum.
- Mashing both shifters at once: Use front for big range changes, rear for small ones.
- Living in one gear: Your cassette exists for a reason—use several cogs to hold steady cadence as terrain changes.
- Ignoring noisy chainlines: If it’s grinding or rubbing, fix the chain angle. You’ll feel an immediate improvement.
Bonus tips for specific bikes
- City/Hybrid bikes: Practice shifting well before intersections so you’re always stopped in an easy gear for smooth restarts.
- Road bikes (2x): Treat the front shift as a “mode change.” Big ring for speed on flats/downhills; small ring for climbs. Use the rear to keep cadence consistent between those modes.
- Mountain bikes (1x): Pre-shift before rocky steps and roots. If you must shift on a punchy section, lighten your stroke at the moment of the click. On newer transmissions, you can stay on the gas more than with older drivetrains, but smooth pedaling still wins.
- Gravel bikes: Wide-range cassettes are your friend—don’t be shy about riding the biggest rear cogs on long dirt climbs.
Mini practice plan (15 minutes)
- Find a gentle hill or a quiet street.
- Warm up for 3 minutes at an easy cadence.
- Cadence drill: Hold ~80 RPM for 1 minute. If cadence falls, click easier; if it rises, click harder.
- Anticipation drill: Ride toward a small hill and make your downshift two seconds earlier than you think you need to.
- Chainline drill (2x bikes): In the big ring, try the middle three cassette cogs; then in the small ring, try the middle three. Notice how quiet it gets when the chain runs straight.
Smooth, quiet shifting is a mix of anticipation, light pedal pressure during the click, and smart chainlines.
Learn to use the rear cogs for small corrections and the front ring(s) for bigger changes, keep your cadence near your comfort zone, and avoid cross-chaining.
With a little practice and simple maintenance—especially keeping the chain within 0.5–0.75% wear—you’ll ride farther with less effort, protect your components, and feel in control on any terrain.
The result is a bike that responds instantly to your inputs and a ride that simply flows.
FAQs
Remember the mantra: rear = small changes, front = big changes. If your legs feel heavy and cadence drops, shift easier (bigger rear cogs or smaller front ring). If you’re spinning fast with no resistance, shift harder (smaller rear cogs or bigger front ring). Practice on a quiet street until the motions are automatic.
Yes, but try to soften your pedal stroke at the instant of the shift. Some newer drivetrains (notably SRAM Eagle Transmission) are built to shift under higher load more reliably than older systems, which helps on punchy climbs—though smoother pedaling still makes the shift quieter and kinder to parts.
Check chain wear every few weeks if you ride often. A common guideline is to replace 11/12-speed chains at ~0.5% wear and 5–10-speed chains at ~0.75% wear.
Replacing the chain early is cheaper than replacing a worn cassette and improves shift quality immediately.